Veilux VSSC-68CDNR-90 User Manual
Browse online or download User Manual for Bridge cameras Veilux VSSC-68CDNR-90. Veilux VSSC-68CDNR-90 User manual
- Page / 32
- Table of contents
- BOOKMARKS
- VSSC-68CDNR-90 1
- User Manual 1
- Safety Warning 2
- Table of Contents 4
- 1. Introduction 5
- 1.3 Specications 6
- 2. Camera Overview 7
- 3.1 OSD Control Buttons 10
- 3.2 OSD Operation 11
- 4. Conguration 12
- 4.2 AGC 13
- 4.3 WDR 14
- 15
- 4.4 WHITE BALANCE Control 16
- **MWB ** RED 17
- Sub-Menu under MWB mode 17
- *3DNR 19
- 4.6 DAY/NIGHT 20
- 22
- *SCHEDULE 23
- 4.7 SHUTTER 24
- *DAY/NIGHT 25
- *SCHEDULED SHUTTER 25
- 4.8 IMAGE 26
- 4.9 EFFECT 27
- RATIO 1 28
- E PAN 0 28
- E TILT 0 28
- RETURN EXIT 28
- ** AREA 1 MASK EDIT ** 29
- ** PRIVACY MASK ** 29
- 4.10 SYSTEM 30
- ** DATE / TIME ** 31
- 4.11. Balun Function (UTP) 32
- 4.12. EXIT 32
Summary of Contents
Hyper Wide Dynamic Camera (Efo WDR) VSSC-68CDNR-90 User Manual Thanks for purchasing our product. Before operating the unit, please read the ins
3. OSD Operation 3.1 OSD Control Buttons ① UP Use this button to move the cursor upwards to the desired item. ② RIGHT Use this button to move
3.2 OSD Operation ** MAIN MENU ** LENS SET<┘ AUTO WDR<┘ ATW SET<┘ COLOR MANUAL<┘ SET<┘ SET<┘ SET&
4. Conguration 4.1 LENS When the MAIN MENU is displayed on the screen, use the UP and DOWN buttons to the LENS and press the ENTER button to do f
4.2 AGC When the MAIN MENU is displayed on the screen, use the UP and DOWN buttons to the AGC and press the ENTER button to do further setups.
4.3 WDR 1. When the MAIN MENU is displayed on the screen, use the UP and DOWN buttons to WDR and press the ENTER button to do further setups.
*BLC (Back Light Compensation) ** BLC ** There’re 2 modes under BLC function: AUTO and MANUAL. MODE AUTO AREA --- LEVEL |||||||||||||||
4.4 WHITE BALANCE Control The screen color can be adjusted by using the WHITE BALANCE function. 1. Please use the UP and DOWN buttons to WHITE BALA
*MWB (Manual White Balance) **MWB ** RED 30 BLUE 25 RETURN EXIT RED color value ranges from 0 to 255. BLUE colo
4.5 2D &3D NR (Dynamic Noise Reduction) ** MAIN MENU ** ** 2DNR & 3 DNR ** 2DNR ON<┘ 3DNR ON<┘ RETURN EXIT LENS
*3DNR ** 3DNR** LEVEL 1 RETURN EXIT Sub-Menu under the 3DNR mode •ON: When the 3DNR is set to ON, there’s a submenu available for l
Safety Warning 1. Read this manual carefully before installing the unit Please read this manual rst for correct installation and operation. 2
4.6 DAY/NIGHT The camera can be set in Color or B/W mode in the Day/Night function. NOTE: 1. DAY/NIGHT function is not available for IR camer
•NIGHTàDAY: When the camera detects the current light level is higher than the set value, it’ll switch from NIGHT mode to DAY mode. Settings can be
*EXTERNAL ** DAY/NIGHT EXT ** NIGHT INPUT HIGH BURST OFF DELAY |||||||||||||||| 0 RETURN EXIT DNI HIGH: 3~12V OR OPEN LOW
*SCHEDULE ** DAY / NIGHT SCHEDULE ** DAY / NIGHT 18 :00 NIGHT / DAY 06 :00 RETURN EXIT Sub-Menu under the DAY / NIGHT SCHEDULE mode When
4.7 SHUTTER There’re 3 modes repetitively for 2 situations under this function: MANUAL, AUTO, DAY/NIGHT (when the DAY / NIGHT function has set to
*DAY/NIGHT When the DAY / NIGHT function is set to AUTO, EXTERNAL, or SCHEDULE mode, you can set DAY SHUTTER and NIGHT SHUTER individually. ** SH
4.8 IMAGE ** IMAGE ** HIGH RESOLUTION SHARPNESS CHROMA FREEZE ** MAIN MENU ** HIGH 10 MID OFF LENS
4.9 EFFECT ** MAIN MENU ** ** EFFECT ** LENS MOTION DETECTION SET<┘ AUTO WDR<┘ ATW SET<┘ COL
•SIZE: Size of the block can be adjusted from 1 to 15; the higher the number, the bigger the block can be. •FRAME: Choose ON to display block only i
* PRIVACY MASK ON/OFF, when PRIVACY MASK is set as ON, there’re several submenus under this mode: ** AREA 1 MASK EDIT ** ** PRIVACY MASK **
10. Cleaning Unplug the unit from the outlet before cleaning. Do not use liquid cleaners or aerosol clean-ers. Use a damp cloth for cleaning. 11
4.10 SYSTEM 1. Please use the UP and DOWN buttons to SYSTEM on the MAIN MENU. ** MAIN MENU ** ** SYSTEM ** CAMERA TITLE DATE
* DATE / TIME ** DATE / TIME ** TIME 10:00:00 DATE 10:01:01 FORMAT YY:MM:DD RETURN EXIT HH: Hour, MM: Minute, SS: Second, YY:
4.11. Balun Function (UTP) A Balun’s function is available for BOX cameras only. It would normally require 3 terminals (Video + Power + RS485) to su
Table of Contents 1. INTRODUCTION...
1. Introduction VSSC-68CDNR-90 built with Sony’s latest image processor, this super-wide dynamic camera has the capability of achieving resolutions
1.3 Specications PAL NTSC TV System Image Sensor 1/3” Sony 960H Double-speed (Double-density) CCD Number of Total Pixels 1024(H)x596(V
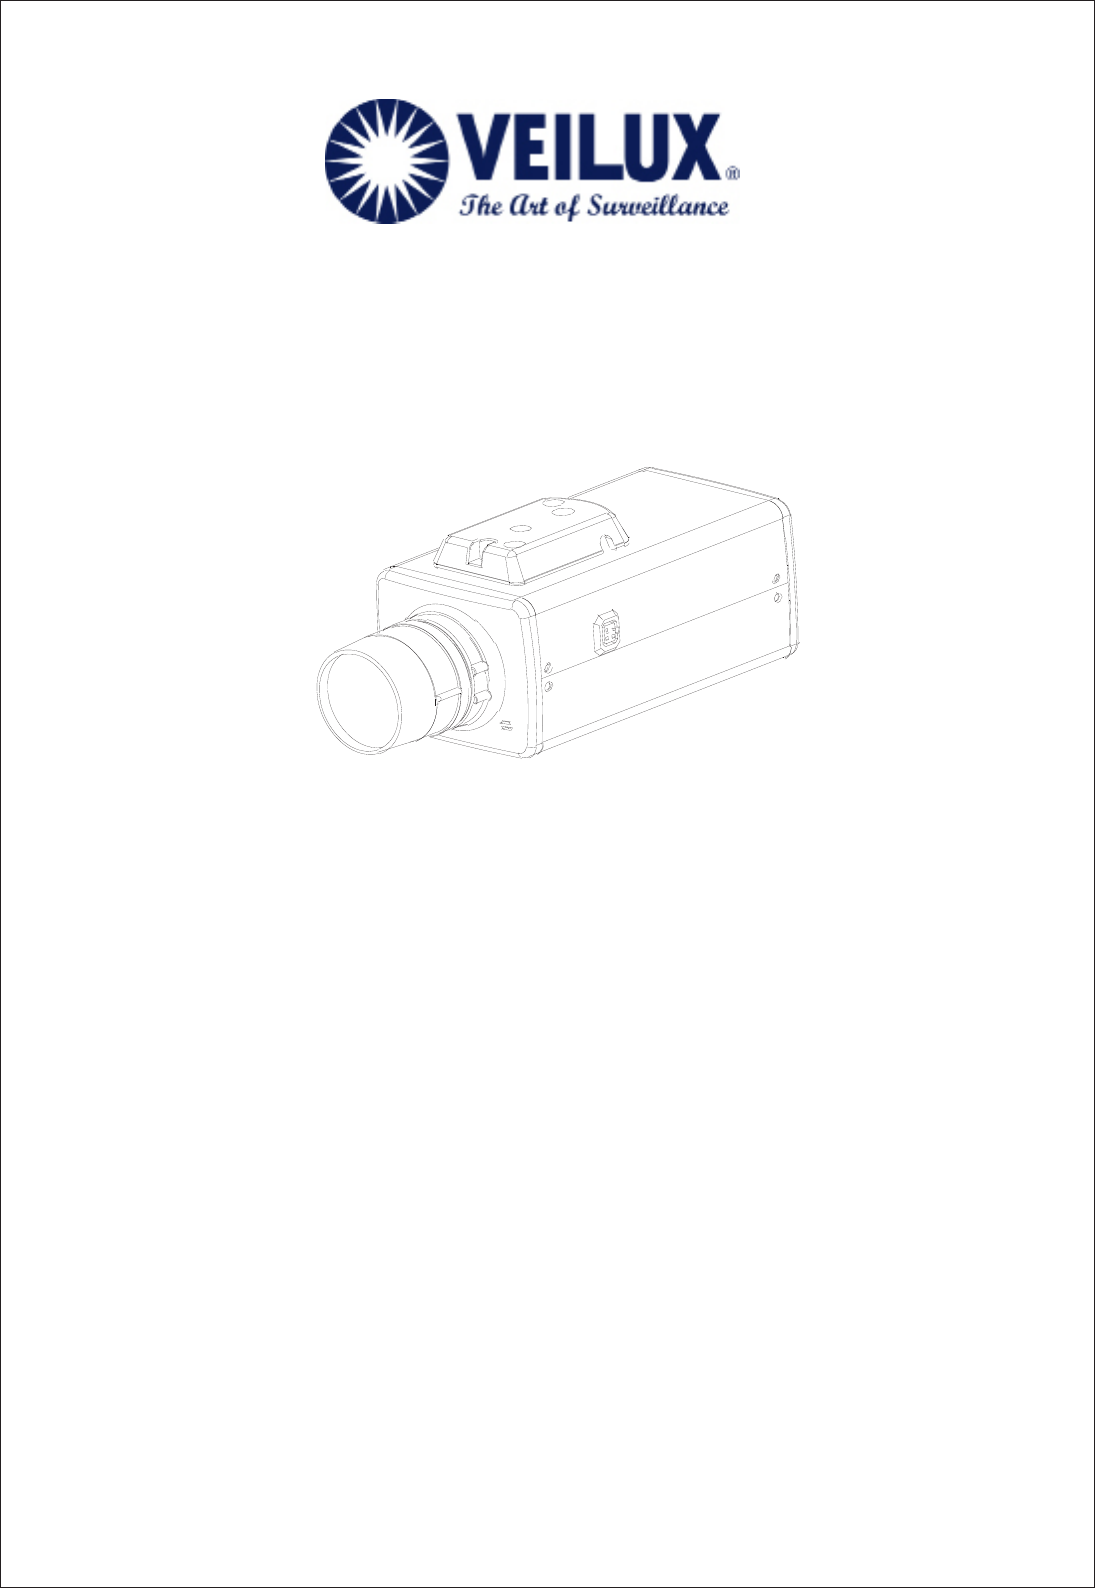
2. Camera Overview 2.1 Dimensions IRIS
2.2 Description of Camera Parts AC24V Lens Mount ① This mount is used to install a CS-mount lens. CS-adaptor ring is required when using a C mo
⑨ Communication Connectors 1. RS485+ 2. RS485- 3. Day & Night External Input (controlled by external infrared illuminator) 4. Day & Nigh
More documents for Bridge cameras Veilux VSSC-68CDNR-90

© 2020, manymanuals.com. All rights reserved. | 0.535 s |
 Manymanuals.com
 Manymanuals.de
 Manymanuals.fr
 Manymanuals.it
 Manymanuals.pl
 Manymanuals.cz
 Manymanuals.es
 Manymanuals-pt.com
Comments to this Manuals